The Ultimate Guide to Painting Your Nails - Valentine's Day Edition
6 min read


Choosing the Right Tools and Supplies
When embarking on the creative journey of painting your nails, especially for a special occasion like Valentine's Day, it is essential to select the appropriate tools and supplies. The foundation of any successful nail art project begins with quality nail polish. For a Valentine's theme, opt for vibrant colors such as reds, pinks, purples, and whites that resonate with the spirit of love. Brands such as OPI, Essie, and Sally Hansen offer a range of high-quality polishes known for their lasting power and rich pigmentation.
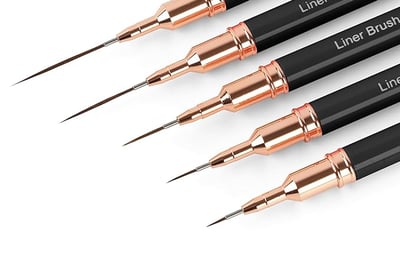
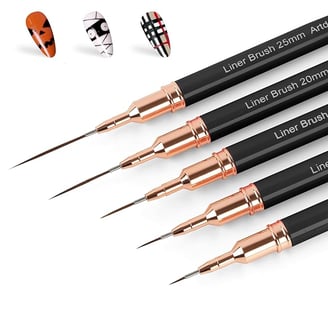
In addition to polish, having the right tools is crucial. Nail brushes in varying sizes will allow for intricate designs, while dotting tools can help create perfect polka dots or heart shapes. Nail art pens may also be utilized for fine details and accents. It is advisable to invest in a set of these tools, as they provide versatility and ease of use, especially for beginners aiming to create impressive designs.
No nail art routine is complete without a good base coat and top coat. A base coat not only protects the natural nail from staining but also helps the colored polish adhere better, thus improving longevity. Following your nail art with a top coat enhances the shine and protects your design from chips. Brands such as Seche Vite or Orly are recognized for their fast-drying and long-lasting top coats, making them popular choices among nail enthusiasts.
Lastly, consider adding some embellishments like nail stickers or gems that align with the Valentine's Day theme. These additions can elevate your design, adding an extra touch of creativity. By carefully selecting the right tools and supplies, you can ensure your nail art not only looks professional but also fulfills the celebratory spirit of the occasion.
Step-by-Step Guide to Painting Your Nails
Painting your nails can be a delightful and creative experience when executed properly. To begin the process, it is essential first to prepare your nails adequately. Start by removing any old polish with an acetone-free remover, as this will minimize dryness. Once cleared, wash your hands and nails to remove any oils or dirt, ensuring a clean canvas for your nail polish.
Next, focus on shaping your nails. Use a file to smooth the edges and create your desired nail shape, whether it is square, round, or almond. It is beneficial to file in one direction to prevent splitting and damage. Additionally, soak your nails in warm, soapy water for a few minutes to soften the cuticles. Following this, gently push back the cuticles using a cuticle pusher, being cautious to avoid any injury.
Once your nails are clean and shaped, apply a base coat. The base coat serves multiple purposes; it protects your nails from stains, helps the polish adhere better, and increases longevity. Allow the base coat to dry completely before proceeding with the color of your choice. When applying the colored nail polish, do so in thin layers to avoid bubbles and streaks. Apply it using the three-stroke method—one stroke down the center, followed by a stroke on either side. This technique will facilitate an even application and reduce the risk of premature chipping.
In case you encounter bubbles or streaks, a common issue in nail painting, gently pull the brush across the surface of the nail to smooth out the imperfections. After applying at least two coats of color and allowing adequate drying time between coats, finish with a top coat. The top coat not only enhances the color's vibrancy but also provides a glossy finish that helps protect your nails from damage. Maintaining long-lasting nail art involves regular touch-ups and proper care, ensuring your nails remain pristine and attractive throughout the season.
Creating Valentine's Day Nail Art Designs
Valentine's Day is the perfect occasion to showcase creativity through nail art. Several fun and easy designs can help you express your love, whether for a partner, friend, or yourself. This section will delve into various techniques and ideas to create charming Valentine's Day nail art, ensuring accessibility for all skill levels.
One of the simplest methods to start is by painting classic heart designs. Using a fine-tipped brush or a dotting tool, you can create hearts in vibrant shades of red, pink, or even gold. Start with a base coat of your preferred color, let it dry, and then add heart shapes using gentle strokes. If you prefer a more uniform look, nail stickers or decals featuring heart patterns can be applied after your base coat has dried, delivering a polished finish.
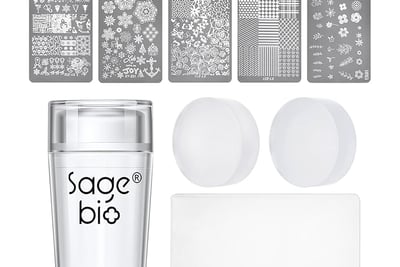
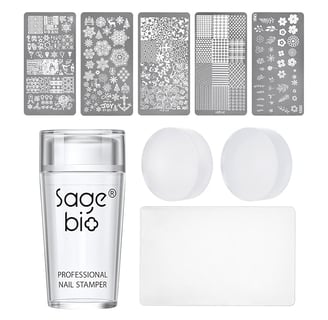
For those who enjoy a more intricate approach, freehand painting offers endless possibilities. Try adding love messages such as "Be Mine" or "XOXO" in delicate script across your nails. Utilize a steady hand and a fine brush for the lettering, or you can use nail stamps that provide a consistent design. A stamp can give you an elegant outcome without the need for advanced painting skills.
Floral patterns also serve as an excellent way to celebrate Valentine's Day. Combining hearts with flowers can add a unique touch to your design. Using a simple dotting technique, you can create small floral accents to embellish your hearts, or vice versa, for a whimsical and romantic look.
To personalize your designs further, consider playing with color combinations and adding glitter for some sparkle. With these techniques and ideas, you're well on your way to creating delightful Valentine's Day nail art that showcases your personality and creativity.
Caring for Your Nails After Art Creation
Proper care for your nails following the creation of nail art is essential to ensure their longevity and maintain overall health. After painting your nails, it is important to focus on moisturizing your cuticles, as this helps prevent dryness and cracking. Using a quality cuticle oil or moisturizer can significantly enhance the resilience of your nails and the surfaces surrounding them. A regular moisturizing routine will promote healthy growth and prevent hangnails, ensuring your nail art remains flawless.
A key aspect of nail care involves the correct storage of your nail art supplies. Ensure that polishes, tools, and other materials are stored in a cool, dry place away from direct sunlight. This practice not only extends the life of your products but also ensures that they perform optimally when you next decide to engage in nail art. Always keep brushes clean and free from buildup, as this will prevent contamination and maintain the quality of your products.
When it comes to removing nail polish, employing the right technique is critical to prevent damage. Opt for an acetone-free remover if possible, as acetone can dry out both your nails and the surrounding skin. Soak a cotton pad with the remover, place it on your nail for a few moments, then gently wipe away the polish. This method minimizes friction against the nail, reducing the risk of chipping or peeling. Additionally, consider applying a nourishing base coat before you paint your nails, as this can act as a barrier and protect them from potential staining.
To maintain healthy nails post-painting, it is advisable to take breaks between applications to allow your nails breathing time. Regularly assess for common nail issues, such as brittleness or discoloration, and treat them with specialized formulas, including strengthening polishes or protein treatments. These practices are instrumental in ensuring your nails remain vibrant and healthy, ultimately enhancing the aesthetics of your nail art.